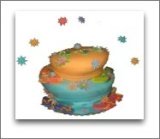
Baby Einstein Cake
by Dixie Holden
(Cameron, NC)
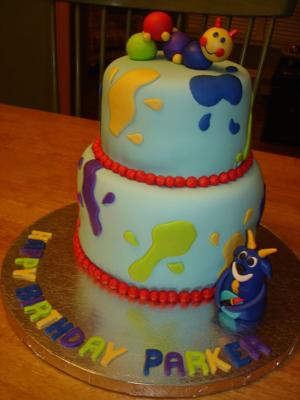
For this Baby Einstein cake, my daughter and I baked two six inch and two eight inch cakes. We placed the first of the eight inch layers onto the cake board and iced the top only with butter cream.
We then placed the next of the 8 inch layers on top of the first layer and covered both with a thin layer of butter cream on the top and sides to make it smooth and to hold in the crumbs. This is also what makes your fondant "stick" to your cake.
We rolled out the blue fondant to about 1/4 inch thick and covered the 8 inch cakes with the fondant. We smoothed it out and trimmed the edges away. We repeated the steps with the six inch layers.
With both cakes covered with fondant, the next step was to cut out the paint splatters that were used for decoration. We rolled each color to 1/8 inch thick and cut out the desired shapes with a small paring knife. We attached the paint splatters to the cake using a small amount of water and a small paint brush.
We then placed four small dowel rods into the middle of the bottom layer and cut them off even with the top of the cake. We took the 6 inch layer and placed it on the 8 inch layer, centering it directly in the middle.
We rolled balls of fondant in different colors to make the caterpillar and connected them with toothpicks. We made the caterpillars face with fondant also.
We then cut out the letters out of 1/4 inch fondant and place them around the base of the cake.
We made the goat using fondant and just modeled each piece to make the shapes we needed. The goat was attached to the cake board using a small amount of water. We put a red bead border around the bottom of both layers and...voila'! Baby Einstein!
Comments for Baby Einstein Cake
|
||
|
||
|
||
Must See Pages for this Month!
- Most Amazing Cakes Gallery
- Seasonal Cakes
- Unique Cakes
- Kids Cakes And Don't Forget...
- Our Home Page - Start Here!

